Introduction Problem
For a new project, we decided to use the Raspberry Pi Compute Module 5 (CM5) as our hardware platform.
I received a development kit consisting of:
- Compute Module 5 (4 GB RAM and 32 GB eMMC)
- 27W USB-C Type-C PD Power Supply
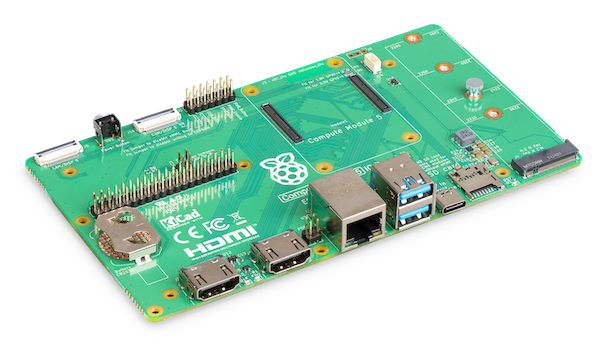
- Compute Module 5 IO Board
- Antenna Kit
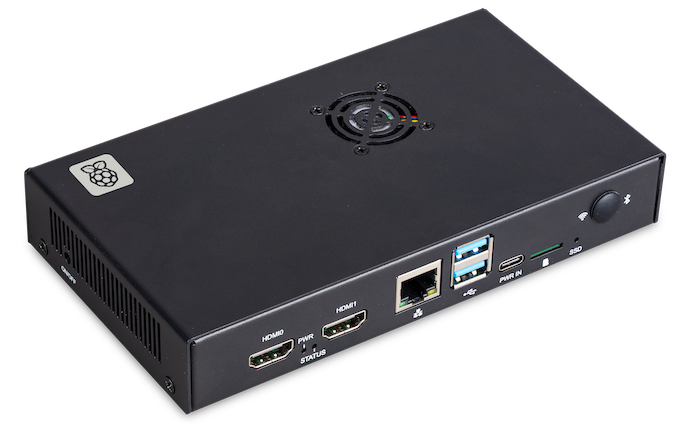
- Compute Module 5 IO Case
- 2 x HDMI® to HDMI® Cable
- Cooler for Compute Module 5
- USB-A to USB-C Cable.

Goal
To simplify development, I wanted to run the system software (raspiOS) from a microSD card, since the Compute Module 5 IO Board includes a microSD card slot.
I used Raspberry Pi Imager to flash the latest Raspberry Pi OS onto a microSD card, inserted the card into the slot on the IO board, and powered on the system.
However, instead of booting into the OS, the display showed a terminal-like message saying “SD: card not detected”, and the system did not boot.
Cause and effect
After some research, I found the explanation in the Raspberry Pi documentation for the Compute Module 5:
- microSD card slot (only for use with Lite variants with no eMMC; other variants ignore the slot)
This means that the microSD slot is only usable on the “Lite” variant, which does not include onboard eMMC storage. My CM5 has 32 GB eMMC, so the SD slot is disabled and ignored during boot.
Correct Way to Install System Software on CM5 with eMMC
To install the operating system on a CM5 with eMMC, follow the official instructions for setting up the IO Board.
A crucial step is to place a jumper on the J2 header on the IO board. This puts the CM5 into USB boot mode, allowing your host PC to access the eMMC like a mass-storage device.

Issue with rpiboot and the Solution
On my development machine (Ubuntu 22.04), I initially tried installing rpiboot with:
sudo apt install rpibootHowever, this version didn’t work properly—likely due to it being outdated or incompatible with CM5.
Instead, I had to build rpiboot from source. Follow the steps here:
Clone the official repository:
git clone --recurse-submodules --shallow-submodules --depth=1 https://github.com/raspberrypi/usbboot
cd usbboot
Install dependencies and build:
sudo apt install git libusb-1.0-0-dev pkg-config build-essential
make
Run rpiboot
with the CM5 connected and the J2 jumper in place:
sudo ./rpiboot -d mass-storage-gadget64The system will detect the CM5’s eMMC, and you can now flash the OS onto it using Raspberry Pi Imager or dd.
Summary
- The CM5 SD slot only works on Lite (no eMMC) variants.
- To flash a CM5 with eMMC, you must:
** Set the J2 jumper.
** Use rpiboot to expose the eMMC over USB. - If the packaged rpiboot doesn’t work, build it from source.
Once that’s done, you can flash Raspberry Pi OS directly onto the eMMC as if it were an SD card.

