Qt on the Raspberry Pi 4
Qt is often used to develop graphic interfaces. Qt contains C ++ libraries for creating graphical interfaces that can be compiled on various operating systems.
Since this compilation requires a lot of computing power, it is advisable for processors with relatively little power to carry out the development and compilation on a host computer and only then to load the finished application onto the target computer.
There are lots of instructions online for developing a Qt application for Raspberry Pi 3 and Pi 4 models.
Unfortunately, I couldn't find one that worked flawlessly for the Raspberry Pi 4 and our needs.
These instructions are heavily based on https://github.com/abhiTronix/raspberry-pi-cross-compilers/blob/master/QT_build_instructions.md and are modified in some places so that it worked for me.
Version 5.15.2 is used for Qt, and I use an Ubuntu 20.0.4 LTS that is installed in vmware as the host computer for cross-compilation.
Prerequites
Hardware
Host [PC/Laptop]: Any x86/x86_64 AMD/Intel machine
Target [Raspberry Pi 4]: Raspberry Pi 4
Software
Host: Any Linux machine (Ubuntu 20.04 LTS Tested)
Target: Raspberry Pi 4 Linux 32-bit OS (Raspbian Bullseye Lite tested)
Note
In the background the cross compile toolchains for Raspberry Pi from abhiTronix are used.
Others
Storage and Time Requirements: The build directory takes around ~10GB space and about 2-5 hours to complete (based on dependencies & Host Machine Specifications).
Networking: Your Target Machine (Raspberry Pi) and Host Machine (where you cross-compiling) both MUST have Internet Access, and MUST be on SAME Network to follow these instructions.
Preparing the Raspberry Pi 4
For the basic installation, we need a Raspberry Pi OS Lite operating system on the Pi 4. I used "2022-04-04-raspios-bullseye-armhf-lite.img.xz".
Downloads and instructions on how to create an SD card with this can be found at https://www.raspberrypi.org/downloads/raspbian/.
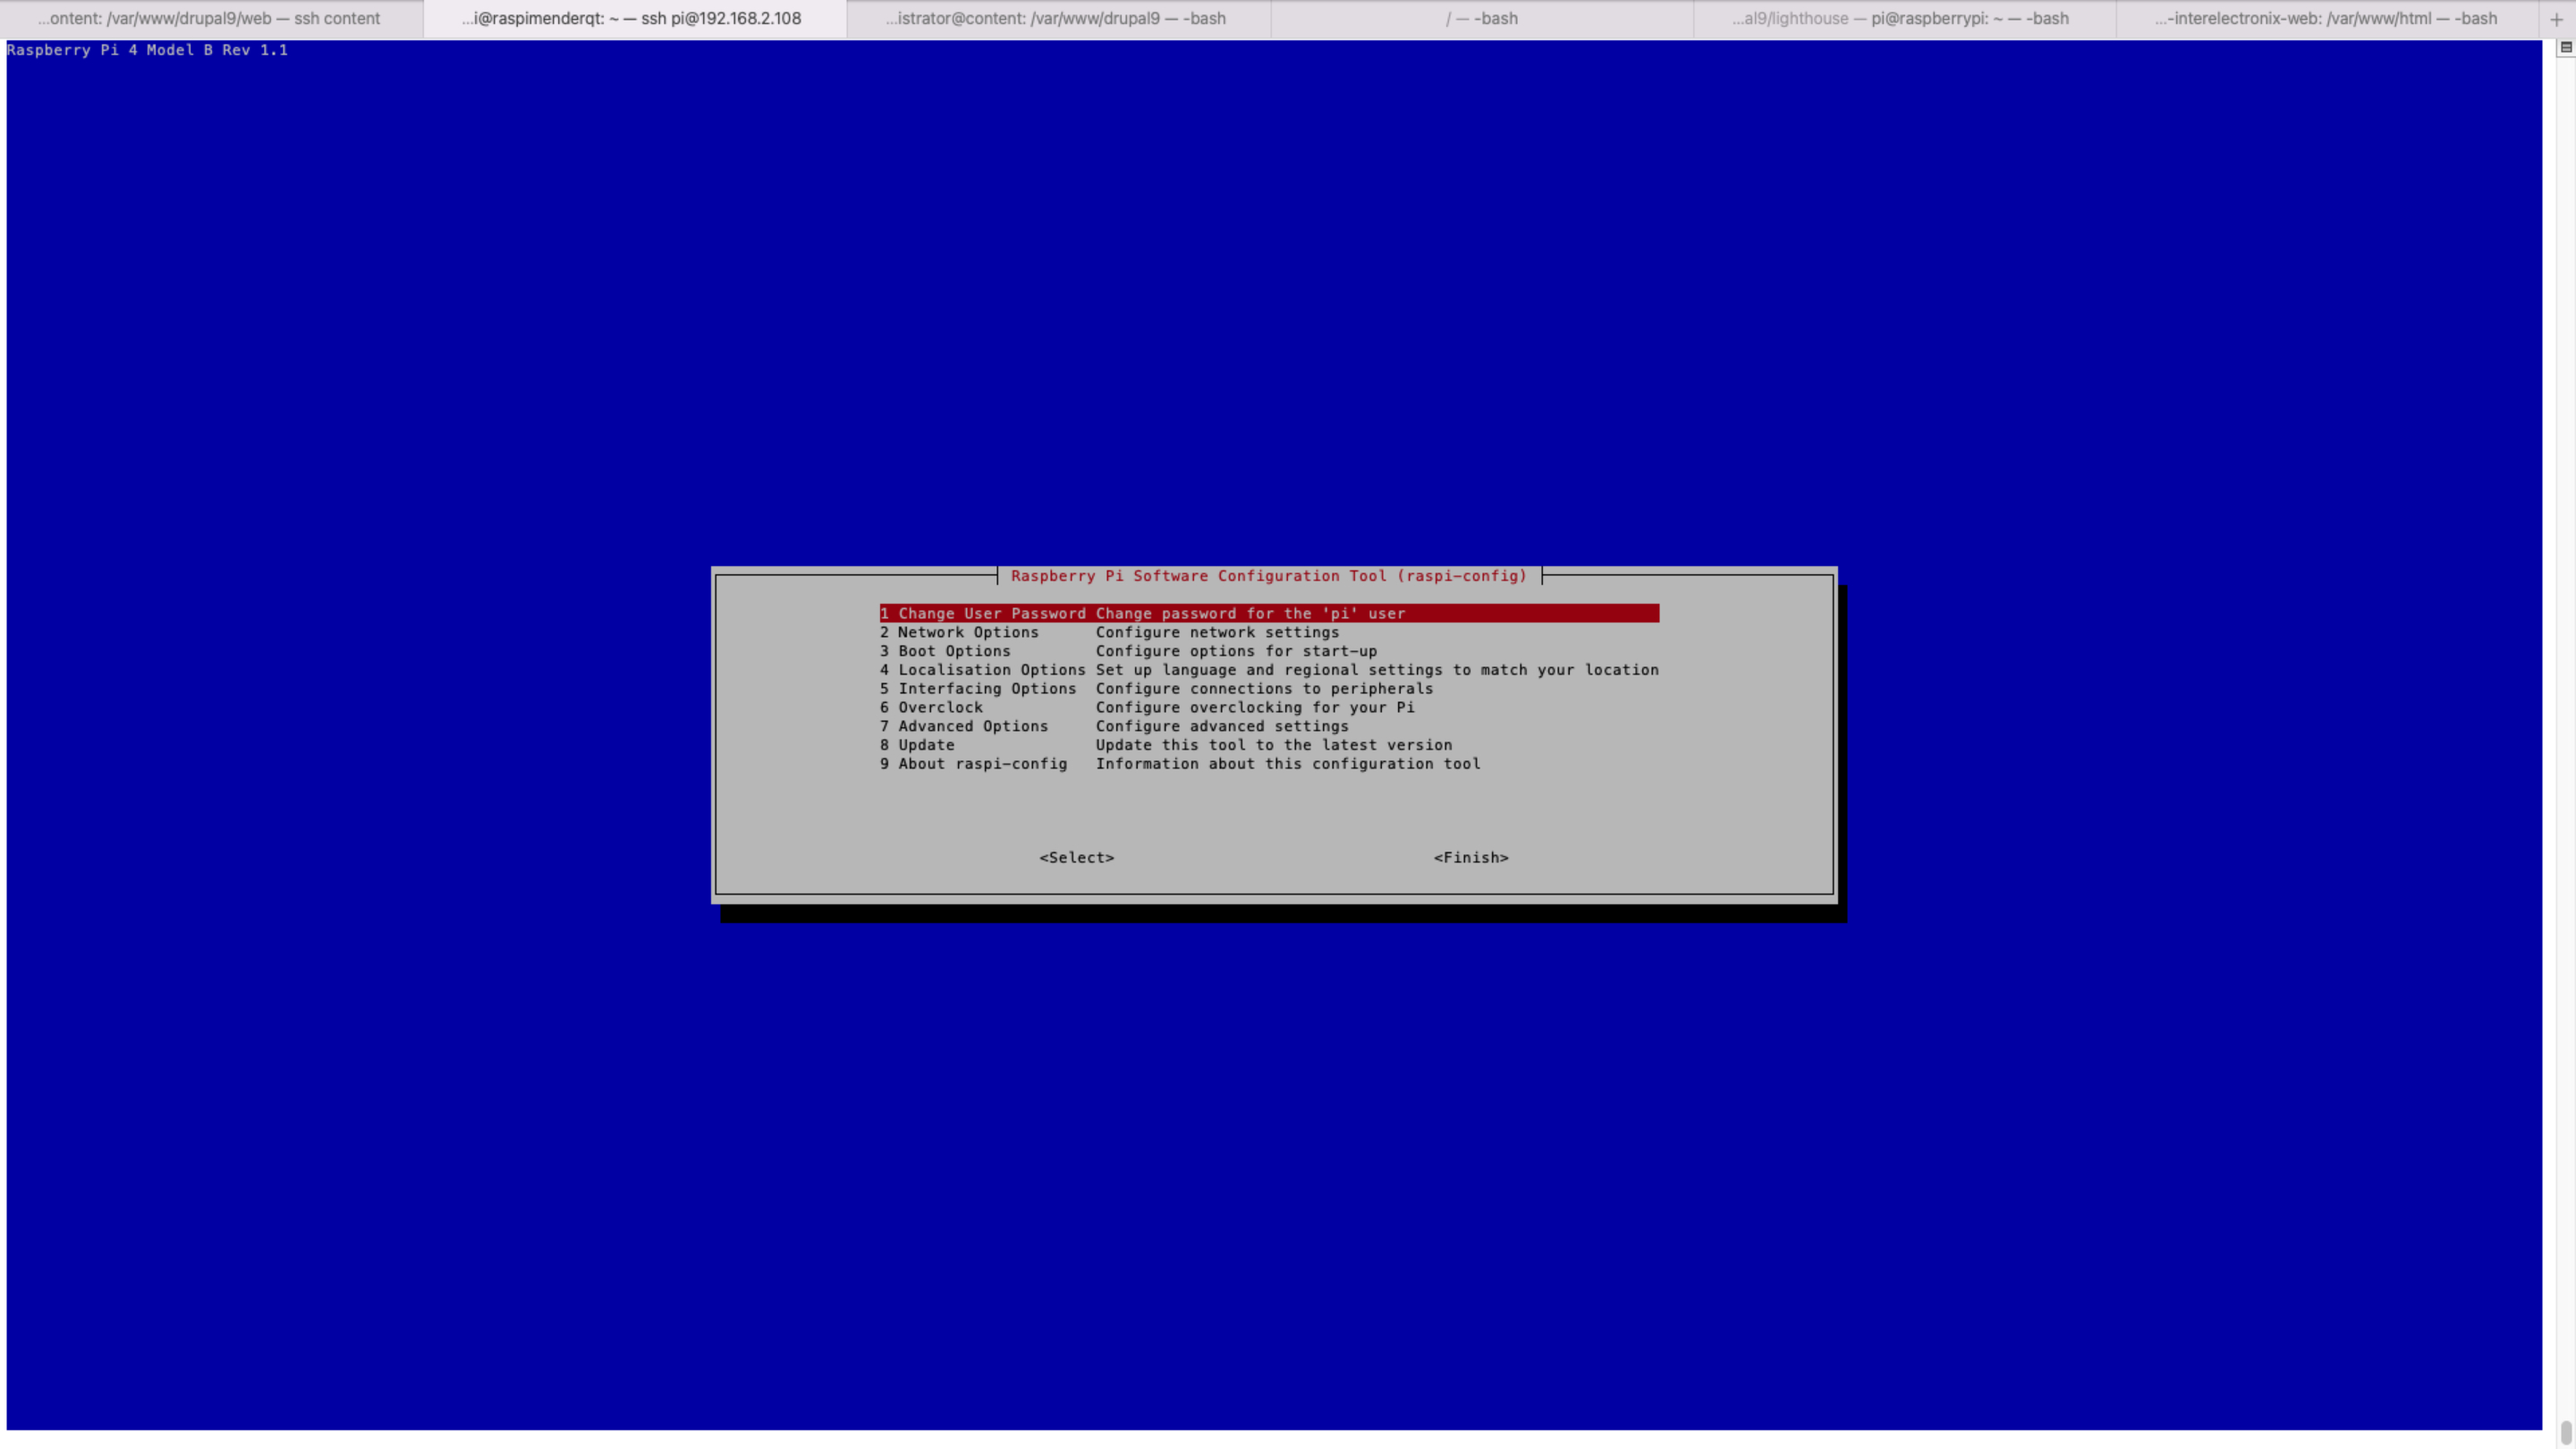
After switching on the Pi 4, the configuration menu appears, where you can make various settings (e.g., host name, IP address, user, etc.). For our configuration, we need "SSH" activated.
Install and update software packages
- Add development sources in /etc/apt/sources.list with the following command:
sudo sed -i -e 's/\#deb-src/deb-src/g' /etc/apt/sources.list
- Then update the system with the following commands:
sudo apt-get update
sudo apt-get -y dist-upgrade
echo "$USER ALL=NOPASSWD:$(which rsync)" | sudo tee --append /etc/sudoers
- And then install the required Qt and development packages:
sudo apt-get install -y build-essential cmake unzip pkg-config gfortran
sudo apt-get build-dep -y qt5-qmake libqt5gui5 libqt5webengine-data libqt5webkit5 libudev-dev libinput-dev libts-dev libxcb-xinerama0-dev libxcb-xinerama0 gdbserver
sudo apt-get install -y libxcb-randr0-dev libxcb-xtest0-dev libxcb-shape0-dev libxcb-xkb-dev
- Install additional packages (depending on your needs):
sudo apt install -y libjpeg-dev libpng-dev libtiff-dev
sudo apt install -y libavcodec-dev libavformat-dev libswscale-dev libv4l-dev
sudo apt install -y libxvidcore-dev libx264-dev openjdk-8-jre-headless
# audio packages
sudo apt install -y libopenal-data libsndio7.0 libopenal1 libopenal-dev pulseaudio
# bluetooth packages
sudo apt install -y bluez-tools
sudo apt install -y libbluetooth-dev
# gstreamer (multimedia) packages
sudo apt install -y libgstreamer1.0-0 gstreamer1.0-plugins-base gstreamer1.0-plugins-good gstreamer1.0-plugins-bad gstreamer1.0-plugins-ugly gstreamer1.0-libav gstreamer1.0-tools gstreamer1.0-x gstreamer1.0-alsa gstreamer1.0-gl gstreamer1.0-gtk3 gstreamer1.0-pulseaudio
sudo apt install -y libgstreamer1.0-dev libgstreamer-plugins-base1.0-dev
- Then also create a directory for RaspberryQt:
sudo mkdir /usr/local/qt5.15
sudo chown -R pi:pi /usr/local/qt5.15
Setup important symlinks
Download symlinker tool and adjust symlinks.
sudo wget -P ~/ https://raw.githubusercontent.com/abhiTronix/raspberry-pi-cross-compilers/master/utils/SSymlinker
sudo chmod +x ~/SSymlinker
~/SSymlinker -s /usr/include/arm-linux-gnueabihf/asm -d /usr/include
~/SSymlinker -s /usr/include/arm-linux-gnueabihf/gnu -d /usr/include
~/SSymlinker -s /usr/include/arm-linux-gnueabihf/bits -d /usr/include
~/SSymlinker -s /usr/include/arm-linux-gnueabihf/sys -d /usr/include
~/SSymlinker -s /usr/include/arm-linux-gnueabihf/openssl -d /usr/include
~/SSymlinker -s /usr/lib/arm-linux-gnueabihf/crtn.o -d /usr/lib/crtn.o
~/SSymlinker -s /usr/lib/arm-linux-gnueabihf/crt1.o -d /usr/lib/crt1.o
~/SSymlinker -s /usr/lib/arm-linux-gnueabihf/crti.o -d /usr/lib/crti.o
Preparing Ubuntu
Update software and install additional packages:
sudo apt update
sudo apt install -y build-essential cmake unzip gfortran
sudo apt install -y gcc git bison python gperf pkg-config gdb-multiarch wget
sudo apt-get -y install sshpass gcc g++ gperf flex texinfo gawk bison openssl pigz libncurses-dev autoconf automake tar figlet
Prepare build environment
- Create folders:
sudo mkdir ~/rpi-qt
sudo mkdir ~/rpi-qt/build
sudo mkdir ~/rpi-qt/tools
sudo mkdir ~/rpi-qt/sysroot
sudo mkdir ~/rpi-qt/sysroot/usr
sudo mkdir ~/rpi-qt/sysroot/opt
sudo chown -R 1000:1000 ~/rpi-qt
- Download and extract Qt sources:
sudo wget -P ~/rpi-qt http://download.qt.io/archive/qt/5.15/5.15.2/single/qt-everywhere-src-5.15.2.tar.xz
sudo tar xf ~/rpi-qt/qt-everywhere-src-5.15.2.tar.xz -C ~/rpi-qt/
sudo chown -R 1000:1000 ~/rpi-qt
- Patch QT sources.
cp -R ~/rpi-qt/qt-everywhere-src-5.15.2/qtbase/mkspecs/linux-arm-gnueabi-g++ ~/rpi-qt/qt-everywhere-src-5.15.2/qtbase/mkspecs/linux-arm-gnueabihf-g++
sed -i -e 's/arm-linux-gnueabi-/arm-linux-gnueabihf-/g' ~/rpi-qt/qt-everywhere-src-5.15.2/qtbase/mkspecs/linux-arm-gnueabihf-g++/qmake.conf
sed -i -e 's/\"main\"\: \"vc_dispmanx_display_open(0)\;\"/\"main\"\: \[\"vc_dispmanx_display_open(0)\;\"\, \"EGL_DISPMANX_WINDOW_T \*eglWindow \= new EGL_DISPMANX_WINDOW_T\;\"\]/g' ~/rpi-qt/qt-everywhere-src-5.15.2/qtbase/src/gui/configure.json
- Download and extract compiler:
sudo wget -P ~/rpi-qt/tools https://sourceforge.net/projects/raspberry-pi-cross-compilers/files/Raspberry%20Pi%20GCC%20Cross-Compiler%20Toolchains/Bullseye/GCC%2010.3.0/Raspberry%20Pi%203A%2B%2C%203B%2B%2C%204/cross-gcc-10.3.0-pi_3%2B.tar.gz
sudo tar xf ~/rpi-qt/tools/cross-gcc-*.tar.gz -C ~/rpi-qt/tools/
sudo chown -R 1000:1000 ~/rpi-qt
- rsync files from raspberry: Use your values from your Raspberry for the variables raspberry_ip, raspberry_user and raspberry_pwd.
raspberry_ip=192.168.2.108
raspberry_user=pi
raspberry_pwd=raspberry
touch ~/.ssh/known_hosts
ssh-keyscan $raspberry_ip >> ~/.ssh/known_hosts
sshpass -p "$raspberry_pwd" rsync -avz --rsync-path="sudo rsync" --delete "$raspberry_user"@"$raspberry_ip":/lib ~/rpi-qt/sysroot
sshpass -p "$raspberry_pwd" rsync -avz --rsync-path="sudo rsync" --delete "$raspberry_user"@"$raspberry_ip":/usr/include ~/rpi-qt/sysroot/usr
sshpass -p "$raspberry_pwd" rsync -avz --rsync-path="sudo rsync" --delete "$raspberry_user"@"$raspberry_ip":/usr/lib ~/rpi-qt/sysroot/usr
- Fix symbolic links:
wget -P ~/rpi-qt https://raw.githubusercontent.com/abhiTronix/rpi_rootfs/master/scripts/sysroot-relativelinks.py
sudo chmod +x ~/rpi-qt/sysroot-relativelinks.py
~/rpi-qt/sysroot-relativelinks.py ~/rpi-qt/sysroot
- Configure Qt build:
cd ~/rpi-qt/build
CROSS_COMPILER_LOCATION="$HOME"/rpi-qt/tools/cross-pi-gcc-*
../qt-everywhere-src-5.15.2/configure -release -opengl es2 -eglfs -device linux-rasp-pi4-v3d-g++ -device-option CROSS_COMPILE=$(echo $CROSS_COMPILER_LOCATION)/bin/arm-linux-gnueabihf- -sysroot ~/rpi-qt/sysroot/ -prefix /usr/local/qt5.15 -extprefix ~/rpi-qt/qt5.15 -opensource -confirm-license -skip qtscript -skip qtwayland -skip qtwebengine -nomake tests -make libs -pkg-config -no-use-gold-linker -v -recheck -L$HOME/rpi-qt/sysroot/usr/lib/arm-linux-gnueabihf -I$HOME/rpi-qt/sysroot/usr/include/arm-linux-gnueabihf
- Build Qt:
make -j$(nproc)
make install
- rsync Qt binaries to Raspberry:
sshpass -p "$raspberry_pwd" rsync -avz --rsync-path="sudo rsync" ~/rpi-qt/qt5.15 "$raspberry_user"@"$raspberry_ip":/usr/local
Final step on target machine (Raspberry Pi)
- Update linker on Raspberry Pi
Enter the following command on the Raspberry Pi to update the device letting the linker to find the new QT binary files:
echo /usr/local/qt5.15/lib | sudo tee /etc/ld.so.conf.d/qt5.15.conf
sudo ldconfig
Installing Qt Creator
The best way to develop Qt applications is to use Qt Creator. To install it, please download and run the online installation files from the Qt website.
Configure Qt Creator for cross compiling
Read the blog Configuring Qt-Creator on Ubuntu 20 Lts for cross-compilation for including the compiled binaries (folder ~/rpi-qt/qt5.15
) in Qt Creator.
Suggestions or mistakes
If you have suggestions for improvements or you find some mistakes - don't hesitate to use the contact form at the end of this page and communicate them to us.
Copyright License
Copyright © 2022 Interelectronix e.K.
This Project source code is licensed under the GPL-3.0 license.
You might also be interested in
Installing Raspberry Pi OS on the Raspberry Compute Module 4
This is a guide for installing Raspberry Pi OS Lite on the Compute Module 4. For my working computer, I use Ubuntu 20, installed on a virtual machine.
Qt 5.15 cross-compilation for Raspberry Compute Module 4 on Ubuntu 20 LTS
This is a guide for cross-compiling Qt 5.15.2 for Raspberry Pi 4 and installing it on Compute Module 4. It is an update to my blog post Qt on the Raspberry Pi 4, with the difference that this time I am using Raspberry Pi OS Lite.
Configuring Qt-Creator on Ubuntu 20 LTS for cross-compilation
This is a guide for configuring Qt Creator in order to be able to use cross-compiled Qt libraries for the Raspberry Pi 4 and create applications for the Raspberry.

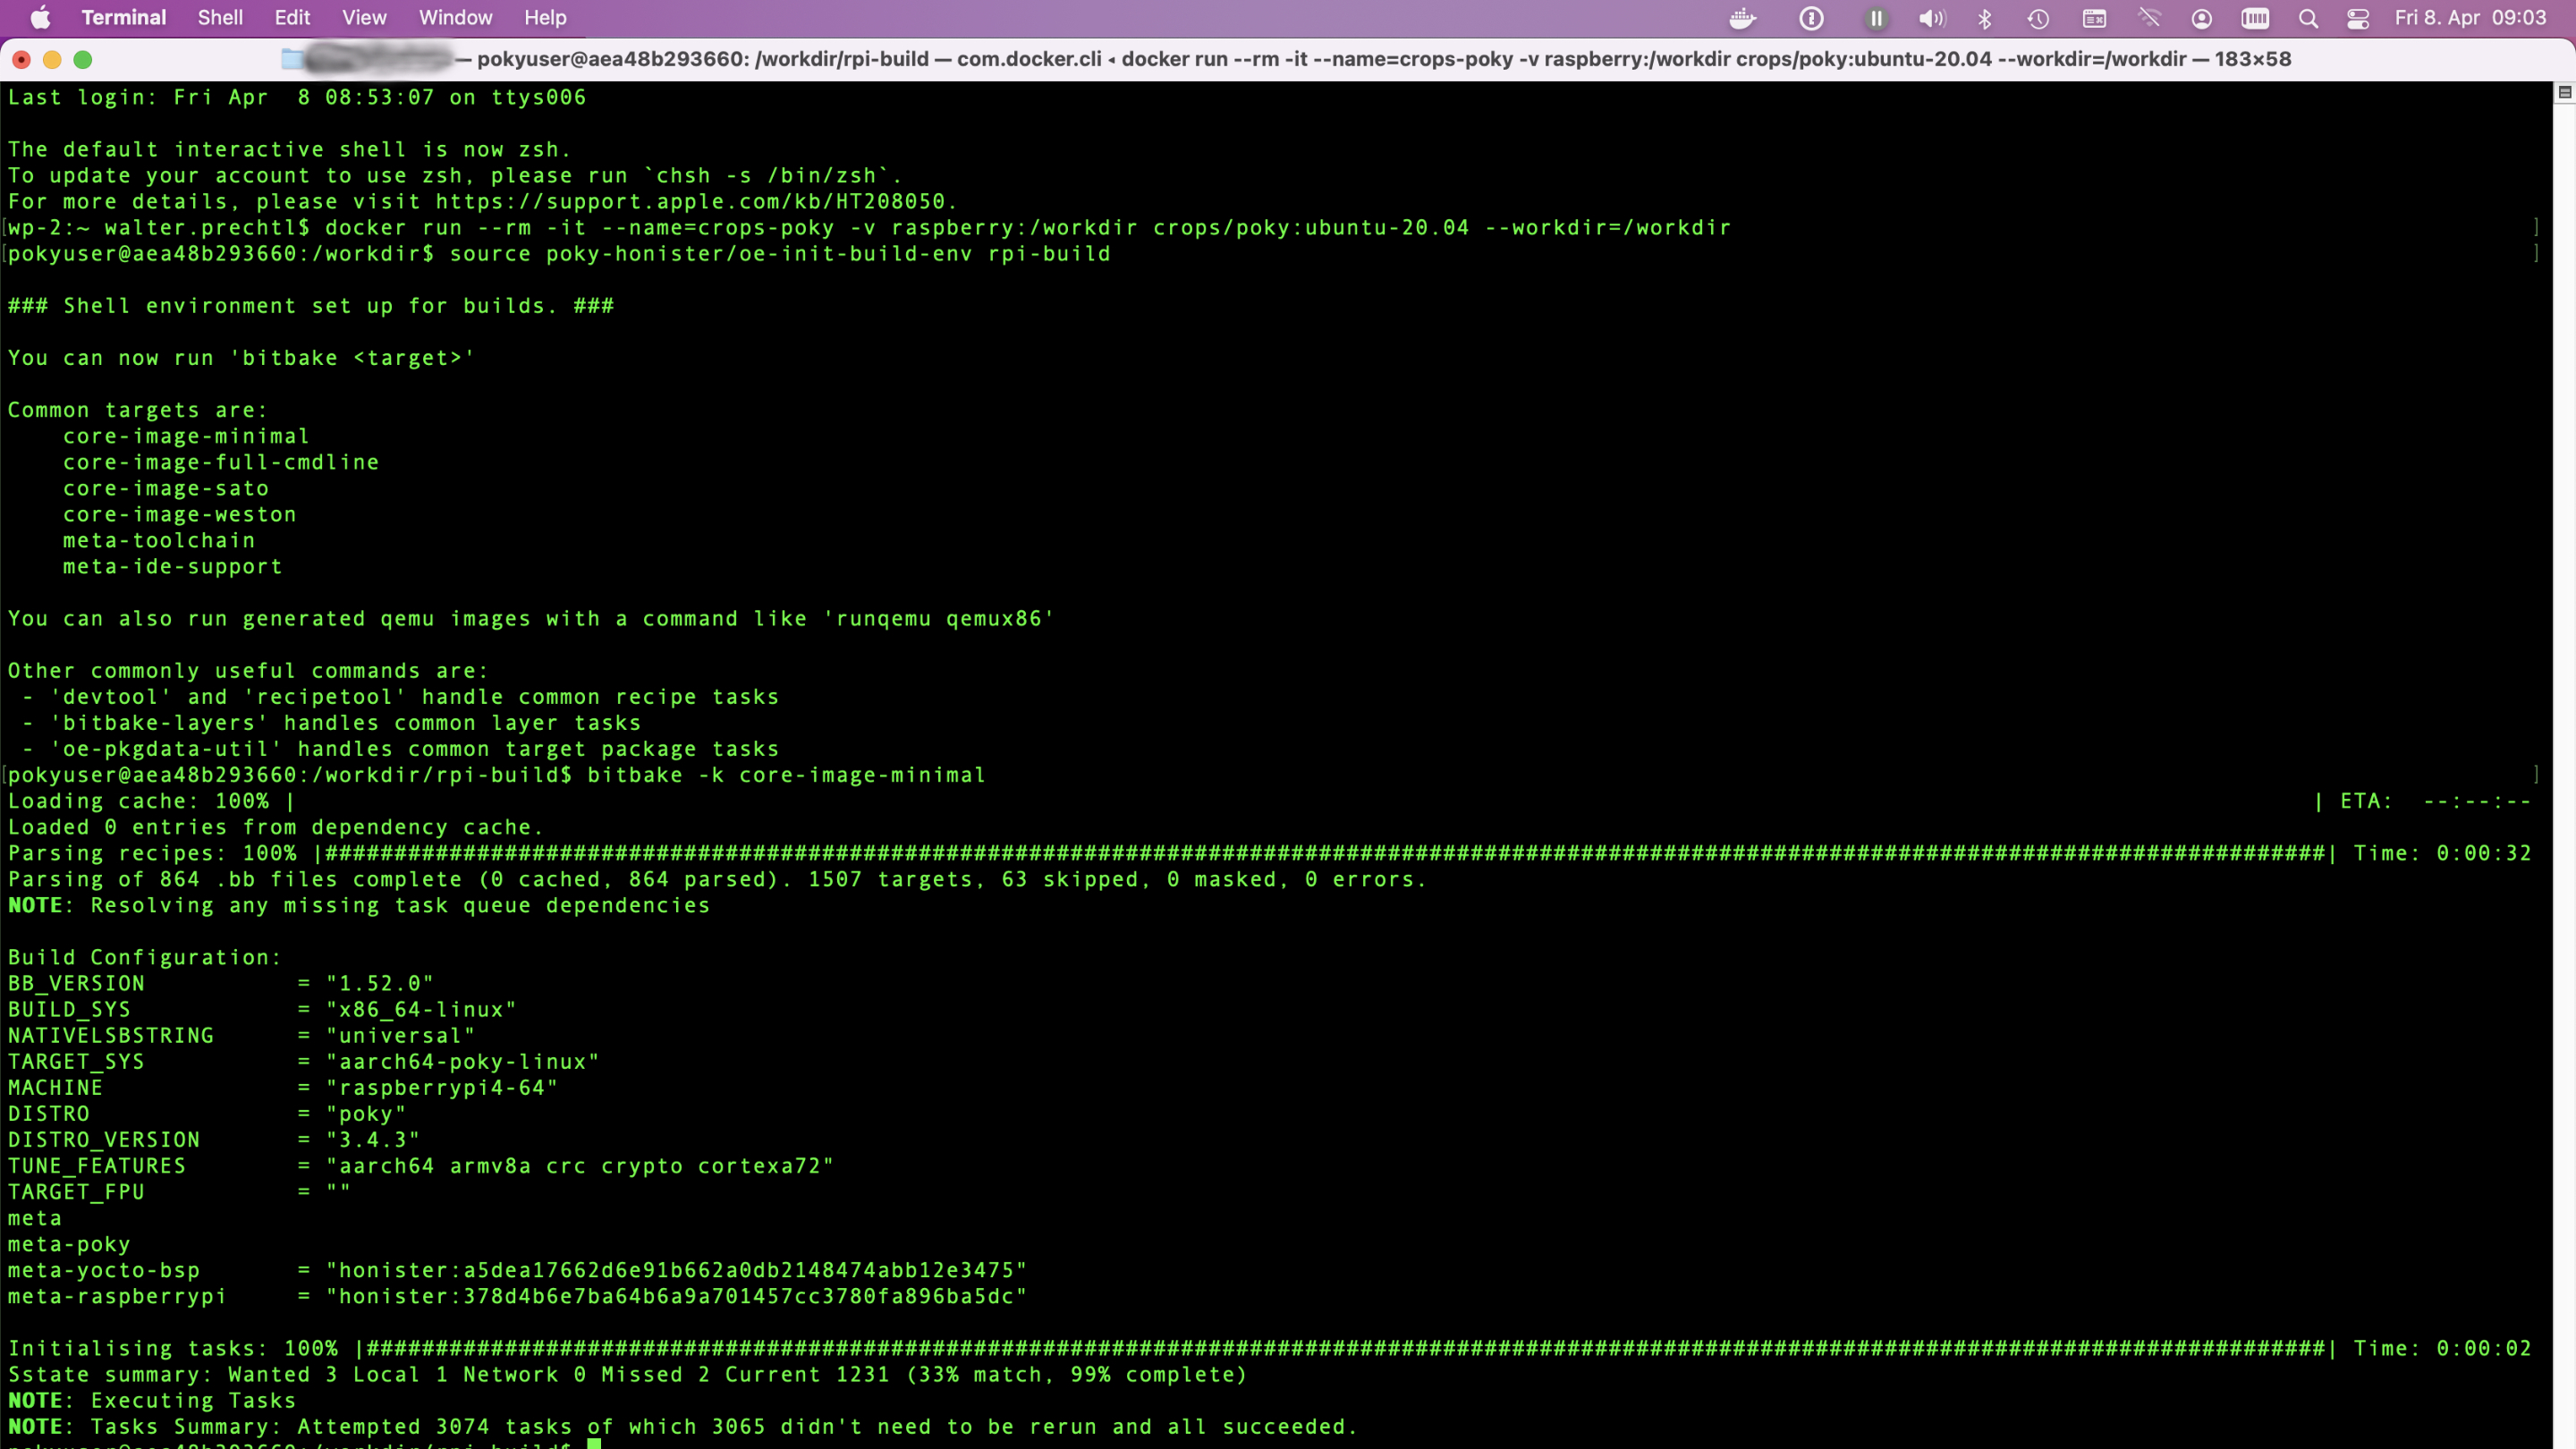
In this guide we provide you informations, how to setup a Yocto Project to install Qt and a Qt demo application for a Raspberry Pi 4 and then autostart this Qt demo application.
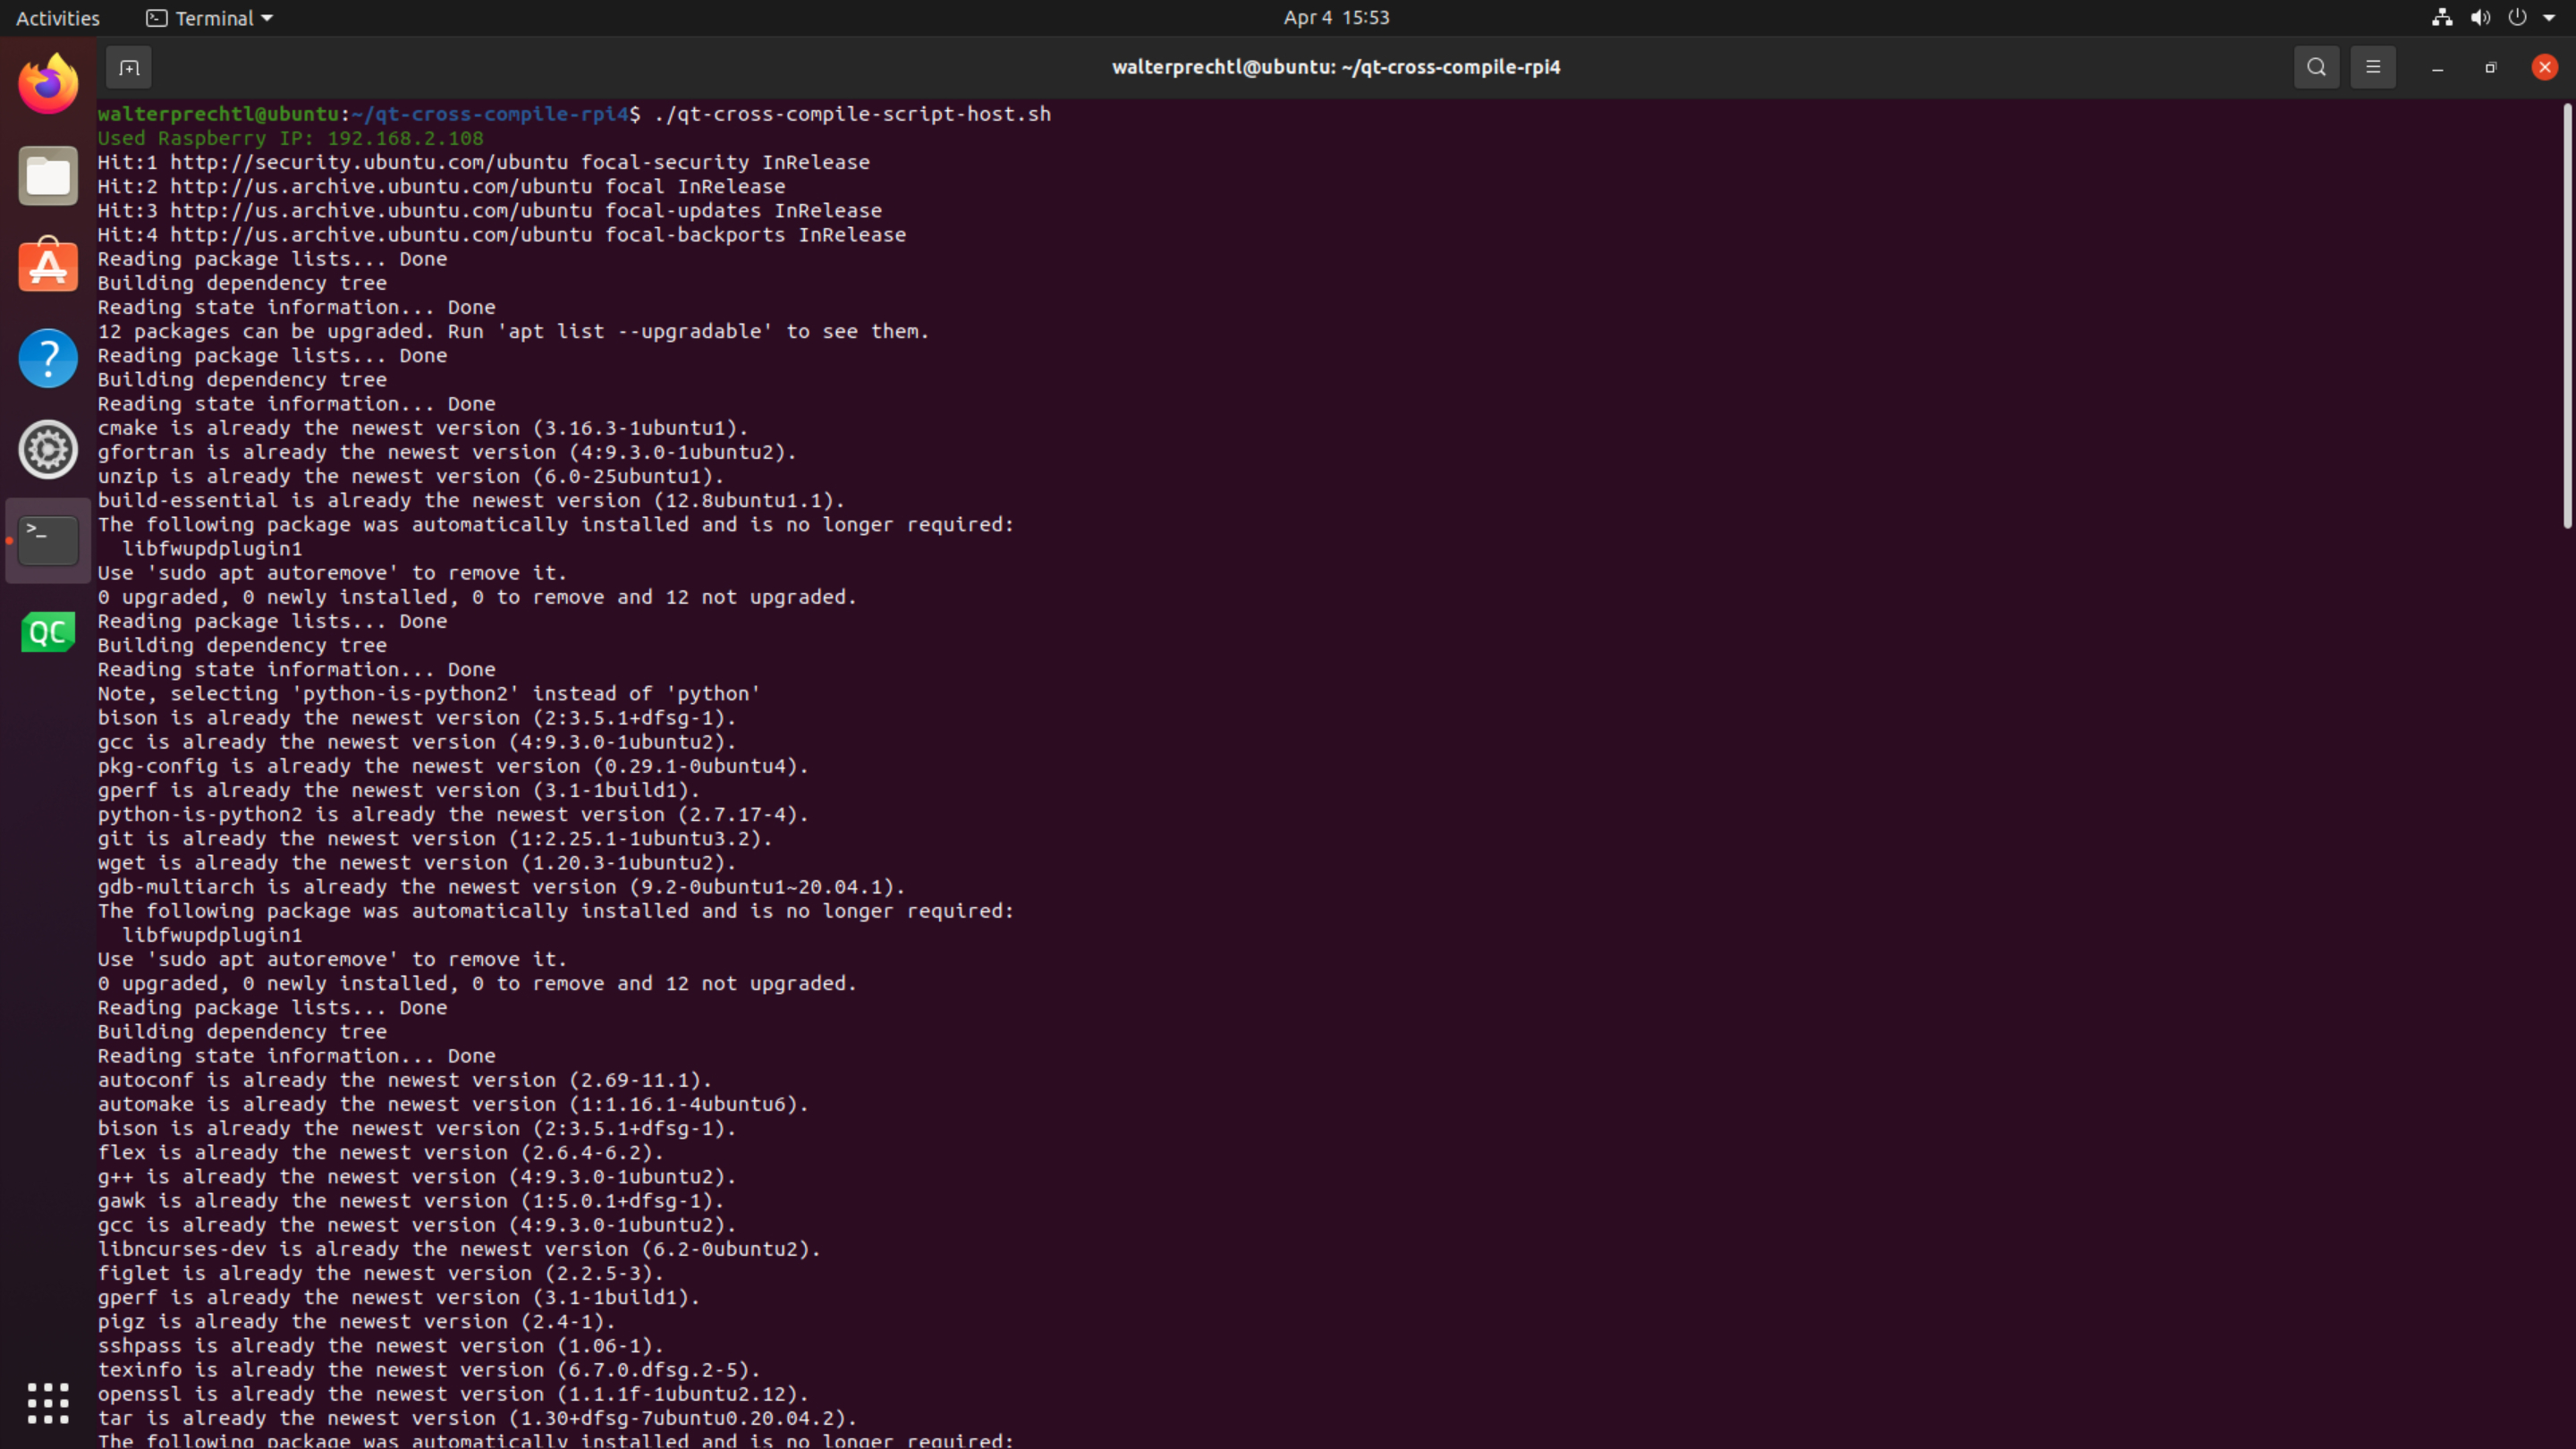
On this page we provide download links for scripts to automatically set up cross compiling on linux host and Raspberry Pi 4 and a description, how to use them.
Qt Modbus with TCP/IP connection
In this blog, I would like to provide a small Qt-Quick application (qml) as an example for a Modbus connection via TCP/IP.
In the Qt examples, I only found QWidget examples for Modbus connections, and after recently creating a Qt Quick application for this purpose, I would like to provide a scaled-down version of it as an example.
Raspberry Pi 4 autostart Qt application during boot
If you have created a Qt application – or any other application – for the Raspberry Pi 4, you will very often want to have the application called up immediately after the Raspberry is restarted, once you have completed the application. This is often attempted using start scripts, which can be entered in various places. However, it is more sensible to set this up via systemd.
Running Windows .exe in the Qt application
The task was to write a Qt Quick application (GUI) to upload new firmware to a touch controller. The upload software was provided by the manufacturer in a .exe application that loads a .bin file onto the touch controller. I wanted to use the "QProcess" Qt classes for this, which can be used to call and control shell applications. On the Linux side, I had already used this successfully several times – but on Windows it didn't want to work at first.