Thiết lập Mender Yocto
Chúng tôi đang sử dụng chi nhánh Yocto Kirkstone để phát triển. Chúng tôi giả định rằng bạn đã có một môi trường phát triển làm việc được cài đặt và thiết lập môi trường của bạn như được mô tả trong VisionFive - Mender - Yocto - Phần 1.
Thiết lập máy chủ Mender
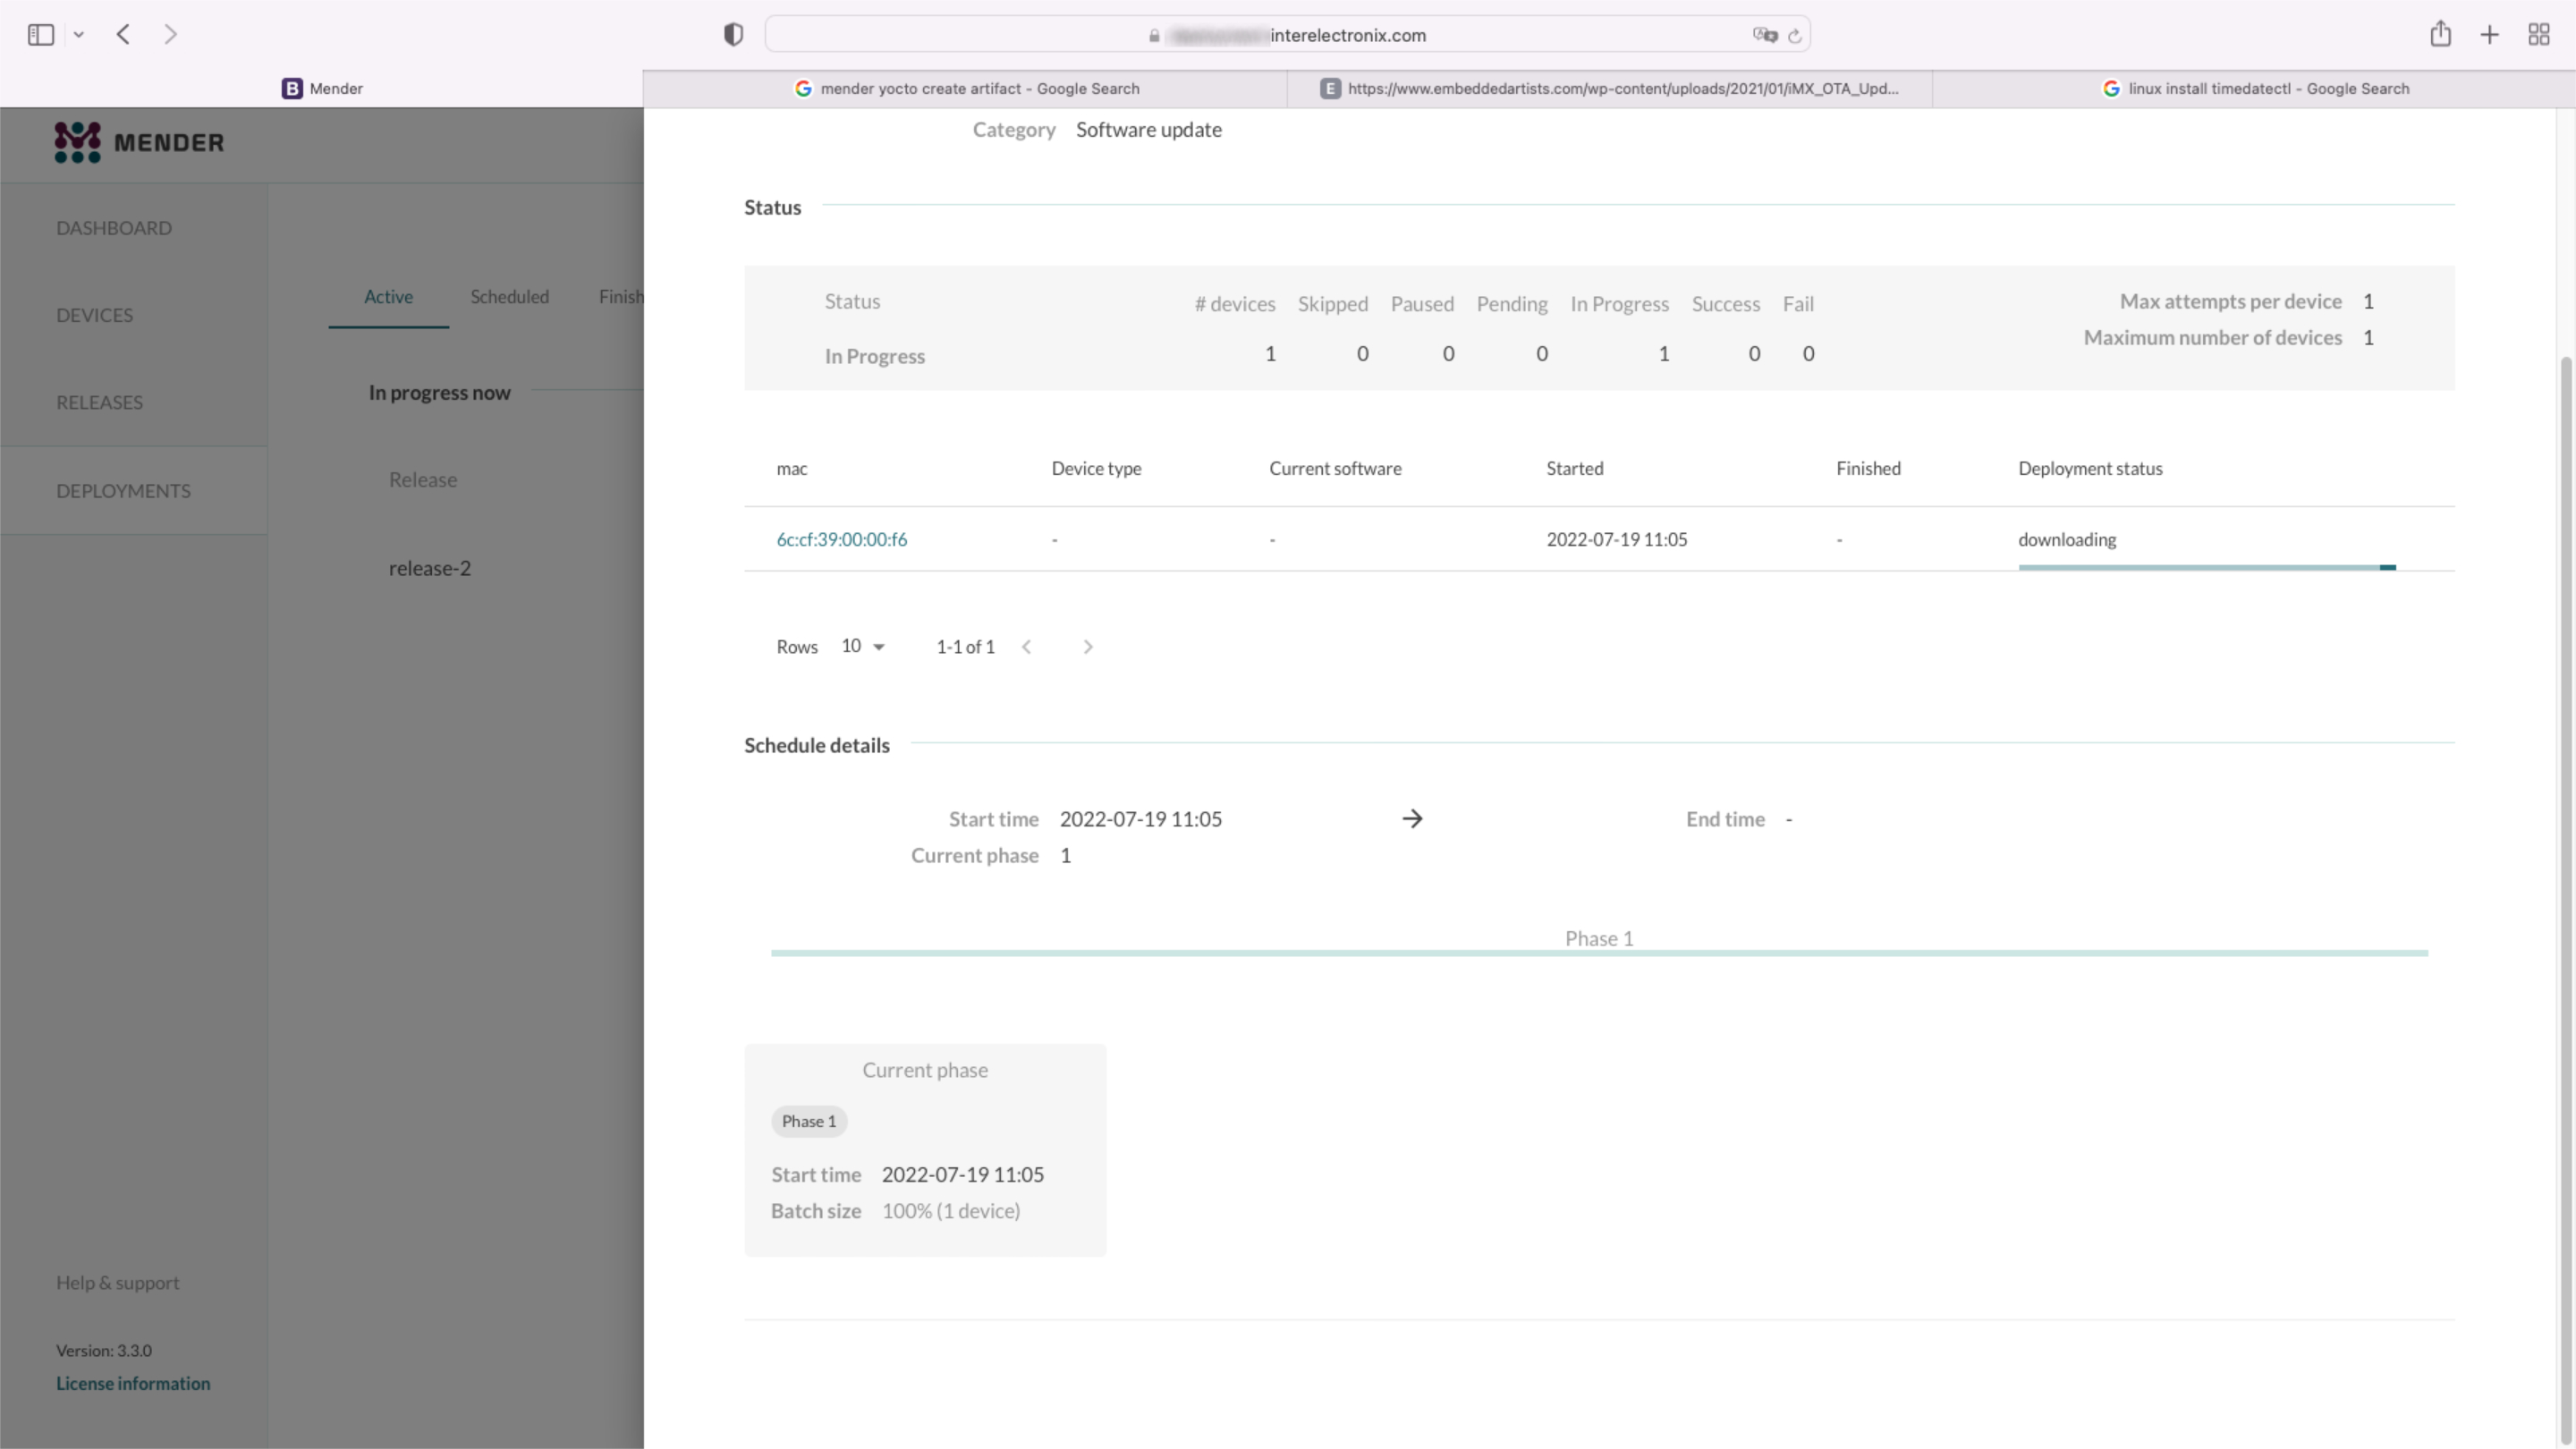
Việc cài đặt máy chủ Mender không phải là một phần của loạt bài viết này. Đối với môi trường thử nghiệm của chúng ta, chúng ta đã cài đặt máy chủ Mender bằng cách sử dụng hướng dẫn cài đặt với docker-compose như được mô tả trong Cài đặt với Docker Compose.
Ghi
Lệch hướng đến hướng dẫn, chúng tôi sử dụng chứng chỉ CA ký tự đại diện tùy chỉnh của chúng tôi. Nếu bạn muốn làm như vậy, bạn phải sao chép khóa công khai và khóa riêng của mình vào '/mender-server/production/keys-generated/cert' trước khi chạy lệnh './run up -d'.
Trước khi tiếp tục, bạn sẽ có thể đăng nhập vào máy chủ Mender mà không nhận được bất kỳ thông báo lỗi nào.
Nhân bản meta-mender
Chuyển đến thư mục poky của bạn - trong trường hợp của tôi là poky-kirkstone - và sao chép kho lưu trữ meta-mender. Vì chưa có nhánh Kirkstone, bạn phải sao chép nhánh 'master-next'.
cd poky-kirkstone
git clone -b master-next https://github.com/mendersoftware/meta-mender.git
local.conf và bblayers.conf
Sao chép bblayers.conf.sample-mender và local.conf.sample-mender từ thư mục meta-interelectronix-visionfive vào thư mục conf và đổi tên nó thành bblayers.conf và local.conf:
cp ../poky-kirkstone/meta-interelectronix-visionfive/conf/bblayers.conf.sample-mender conf/bblayers.conf
cp ../poky-kirkstone/meta-interelectronix-visionfive/conf/local.conf.sample-mender conf/local.conf
Trong tệp bblayers.conf, bạn phải điều chỉnh đường dẫn đến thư mục poky-kirkstone của mình.
Đồng thời xóa dòng '/workdir/poky-kirkstone/meta-interelectronix ' - nó chỉ cần thiết cho tùy chỉnh psplash của chúng tôi.
Các cài đặt quan trọng trong local.conf là:
# mender settings
####### The name of the disk image and Artifact that will be built.
####### This is what the device will report that it is running, and different updates must have different names
####### because Mender will skip installation of an Artifact if it is already installed.
MENDER_ARTIFACT_NAME = "release-1"

INHERIT += "mender-full"

####### The version of Mender to build. This needs to match an existing recipe in the meta-mender repository.

####### Given your Yocto Project version, see which versions of Mender you can currently build here:
####### https://docs.mender.io/overview

####### Given a Mender client version, see the corresponding version of the mender-artifact utility:
####### https://docs.mender.io/overview

####### By default this will select the latest version of the tools that is backwards compatible with the
####### given Yocto branch.
####### If you need an earlier version, or a later version even though it may not be backwards compatible,
####### please uncomment the following and set to the required version. If you want to use the bleeding
####### edge version, specify "master-git%", but keep in mind that these versions may not be stable:

####### PREFERRED_VERSION_mender-client = "3.3.0"
####### PREFERRED_VERSION_mender-artifact = "3.8.0"
####### PREFERRED_VERSION_mender-artifact-native = "3.8.0"
####### PREFERRED_VERSION_mender-connect = "2.0.1"

####### The following settings to enable systemd are needed for all Yocto
####### releases sumo and older.  Newer releases have these settings conditionally
####### based on the MENDER_FEATURES settings and the inherit of mender-full above.
DISTRO_FEATURES:append = " systemd"
VIRTUAL-RUNTIME:init_manager = "systemd"
DISTRO_FEATURES_BACKFILL_CONSIDERED = "sysvinit"
VIRTUAL-RUNTIME_initscripts = ""

ARTIFACTIMG_FSTYPE = "ext4"

####### Example: Memory card storage
MENDER_STORAGE_DEVICE = "/dev/mmcblk0"
####### Example: Memory card with 2GiB of storage.
#######MENDER_STORAGE_TOTAL_SIZE_MB = "29476"
#######MENDER_STORAGE_TOTAL_SIZE_MB = "14738"
MENDER_STORAGE_TOTAL_SIZE_MB = "7369"

MENDER_UBOOT_STORAGE_INTERFACE = "mmc"
MENDER_UBOOT_STORAGE_DEVICE = "0"

MENDER_BOOT_PART = "${MENDER_STORAGE_DEVICE_BASE}1"
MENDER_DATA_PART = "${MENDER_STORAGE_DEVICE_BASE}4"
MENDER_ROOTFS_PART_A = "${MENDER_STORAGE_DEVICE_BASE}2"
MENDER_ROOTFS_PART_B = "${MENDER_STORAGE_DEVICE_BASE}3"

MENDER_FEATURES_ENABLE:append = " mender-uboot mender-image-sd"
MENDER_FEATURES_DISABLE:append = " mender-grub mender-image-uefi"

MACHINE_ESSENTIAL_EXTRA_RDEPENDS:append = " kernel-image kernel-devicetree"

PREFERRED_VERSION:mender-client = "3.3.0"
Tùy chỉnh meta-starfive-bsp
Bạn nên tạo một nhánh của meta-starfive-bsp để thêm các cài đặt cần thiết cho thiết lập Mender.
Tùy chỉnh là cần thiết trong:
- conf/machine/starfive-visionfive-jh7100.conf: Xóa hoặc chú thích hai dòng này
UBOOT_ENV ?= "uEnv"
UBOOT_ENV_SUFFIX = "txt"- recipes-bsp/bootfiles/files/uEnv.txt: Thay thế dòng sau để bao gồm các biến Mender trong khi khởi động
bootcmd=load mmc 0:1 ${kernel_addr_r} @IMAGETYPE@; load mmc 0:1 ${fdt_addr_r} jh7100-starfive-visionfive-v1.dtb; setenv bootargs 'root=${mender_kernel_root} rw rootfstype=ext4 rootwait earlycon console=ttyS0,115200n8'; booti ${kernel_addr_r} - ${fdt_addr_r}- recipes-bsp/u-boot/u-boot-visionfive_v2022.03.bb: Thêm các dòng sau để nói với meta-mender, rằng u-boot tùy chỉnh được sử dụng
require recipes-bsp/u-boot/u-boot-mender.inc

PROVIDES += "u-boot"
RPROVIDES_${PN} += "u-boot"

BOOT_FILES:append = " uEnv.txt"
Bí quyết trong meta-interelectronix-visionfive
Một số cài đặt và biến là cần thiết để được đặt trong lớp meta tùy chỉnh, như chúng ta làm trong meta-interelectronix-visionfive.
- recipes-mender/mender-client/mender-client_%.bbappend: Thêm URL của máy chủ Mender
MENDER_SERVER_URL = "https://mender.interelectronix.com"- recipes-bsp/u-boot/u-boot-visionfive_%.bbappend: Thêm các dòng sau
MENDER_UBOOT_AUTO_CONFIGURE = "1"
BOOTENV_SIZE = "0x20000"
recipes-bsp/u-boot-env/*: Thêm công thức này từ file zip đã tải xuống. Nó chứa hai tệp uEnv, được sử dụng trong hệ thống tệp gốc. uEnv_visionfive.txt được sử dụng trong rootfs, khi khởi động từ phân vùng A và uEnv_visionfive3.txt được sử dụng khi khởi động từ phân vùng B.
recipes-core/images/vision-five-image-mender.bb: Lấy công thức hình ảnh này hoặc thêm 'u-boot-env' vào công thức hình ảnh của bạn
IMAGE_INSTALL:append = " v4l-utils u-boot-env"
Quan trọng
Trước khi bạn có thể bitbake hình ảnh của bạn, bạn phải tùy chỉnh u-boot như được mô tả trong phần tiếp theo của loạt bài viết.
Xem cách thiết lập u-boot cho Mender trong VisionFive - Mender - Yocto - Phần 3.
Giấy phép bản quyền
**Bản quyền © 2022 Interelectronix ví dụ: **
Mã nguồn Project này được cấp phép theo giấy phép GPL-3.0.

Phần 1 của loạt bài viết, cách thiết lập môi trường Yocto để tạo Yocto Linux với sự tích hợp của máy khách Mender.

Phần 4 của loạt bài viết, cách thiết lập môi trường Yocto để tạo Yocto Linux với sự tích hợp của máy khách Mender.

Phần 3 của loạt bài viết, cách thiết lập môi trường Yocto để tạo Yocto Linux với sự tích hợp của máy khách Mender.

